My Eyebrow Tattoo Experience!

Take a look at my eyebrow tattoo experience!

I’ve been using eyebrow makeup to do my brows. This is how I look without doing my brows prior to the tattoo process.

Here is a close-up of my plain brows.

When we’re children, most of us have straight brows! (Wow! Wasn’t I cute? Look at those freckles!)

When I was in my 20s, I had thick, dark eyebrows. As we age, the individual brow hairs get thinner and lighter in color.

The permanent makeup artist first applied numbing cream to the brows. After letting it sit for a while, she cleaned off the numbing cream and got started.
We had discussed the color I wanted since I’ve been using Anastasia Brow Wiz or Anastasia Brow Definer in the color “Taupe”. She chose a color based on that.

She worked on each brow a bit, then went back to the other brow, and kept going back and forth.
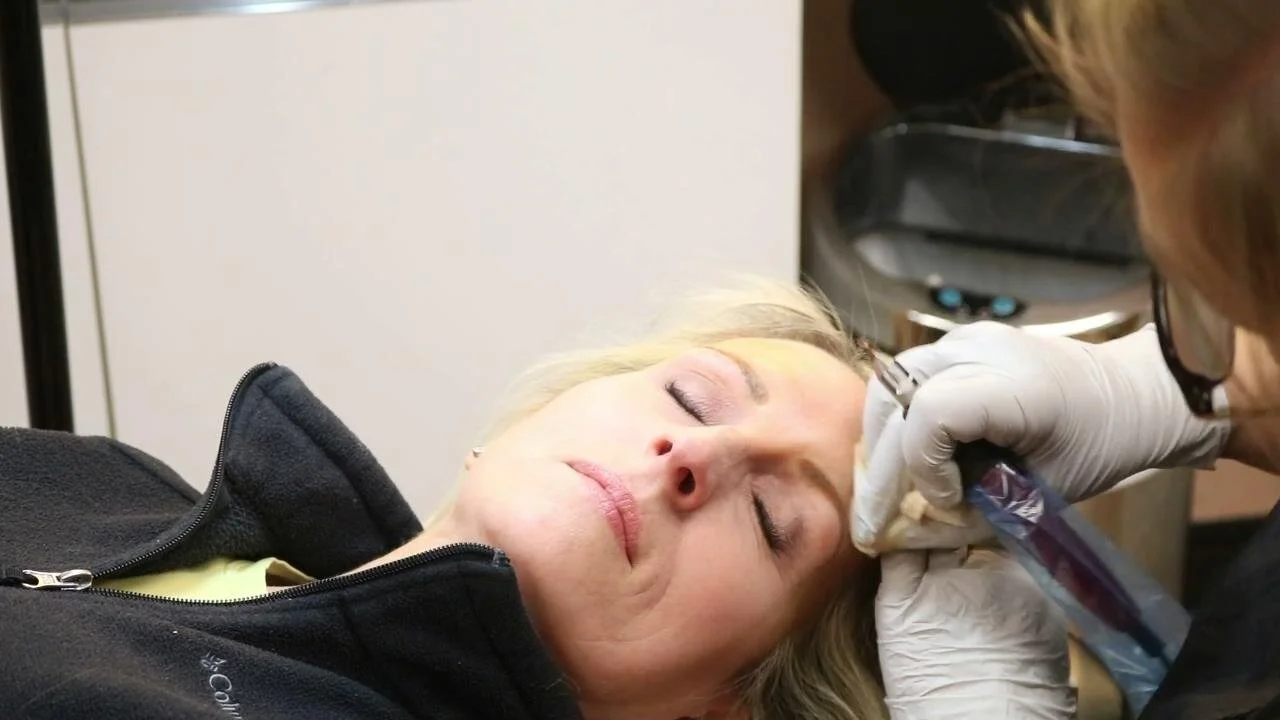
Here is another shot of the process!

Here is a close-up of my brows the day after the tattooing process. At first the brows look auburn or red because the tattooing process brings blood to the surface of the skin.

And here is a close-up shot of day #8. They are no longer auburn or red looking.

Here is a side-by-side photo. On the left - this is the same day I had the tattoo process done. On the right - this is about 8 days later.
To see the video about the entire process, click the image below:
Products:
Permanent Makeup: https://cosmeticenhancementclinic.com/