Get Rid of Tear Troughs with These Simple Makeup Tricks

If you have a space below your eyes that is a bit sunken like I have, it’s called a “tear trough”. I’ll show you how I cover mine with a few simple makeup tricks!

I start out with the Pixi by Petra Correction Concentrate in the color “Brightening Peach” (they also have a darker shade called “Awakening Apricot”). I use the Sonia Kashuk Concealer Brush to apply it to the entire undereye area and to the eye’s inner corner.
Then I gently pat it with my ring finger to get a smooth application.
(All pink text are links to the product!)

Next, I apply foundation. The thing is, I want to have an even color to appear below my eyes and on the rest of my face. I don’t want the tear troughs to stand out in any way. I use either a medium- or full-coverage foundation. In this photo I’m using the Emlin foundation in “Burnished Ivory”. (A similar foundation in color and coverage is Clinique’s Even Better Foundation in the color “Breeze”.)
After applying the foundation with my fingers and getting it onto most of my face, I use the e.l.f. Powder Brush, which looks like a stipple brush as it is flat. I gently blend the foundation at the outer edges first and then on the rest of my face. I’m very gentle with the brush under my eyes! I’ve also used the Real Techniques Blend & Blur Foundation Brush. I think the e.l.f. brush is better at managing the eye area, however, without messing up the makeup!

The next step is to highlight the areas I want to stand out.
I used to use this product under my eyes before I had tear troughs because it’s one of the best concealers available! I’ve been using it since 1990. If I use it today under my eyes, however, it will only bring attention to the undereye area. It’s great to cover dark circles (but so is the Pixi Corrector!)
Remember, I don’t want to bring attention to the undereye area because of the tear troughs. Using a “brightener” under my eyes doesn’t work for me - it brings attention to the troughs!
So now I use the Emlin Under Eye Cover Cream as a highlighter!
First, I apply it to the sides of my nose. Second, I apply it to the top of the bone that is just below the tear troughs. Third, I use the concealer brush to apply a bit of it to the inner corner of my eye only and then pat it / blend it with my ring finger. (And then I fix the bit in the eye’s inner corner later when I’m finishing my eye makeup.)

For the highlighter that was applied to my face, I use the Ecotools Buffing Brush to buff it out.

I only use a bit of powder at this point. Too much powder on me looks (1) cakey and (2) aging.
I’m using the Rimmel Stay Matte Pressed Powder in “Creamy Natural 011”. I apply with the Real Techniques Powder Brush, applying it to my checks and nose. Then I skim the brush over my closed eyes.
I don’t “set” the under eye area with powder. At my age, that would look aging.

On some days I’ll apply a bit of bronzer around the outside areas of my face for contrast. Here, I’m using the Pixi by Petra Bronzer in “Subtly Suntouched”.
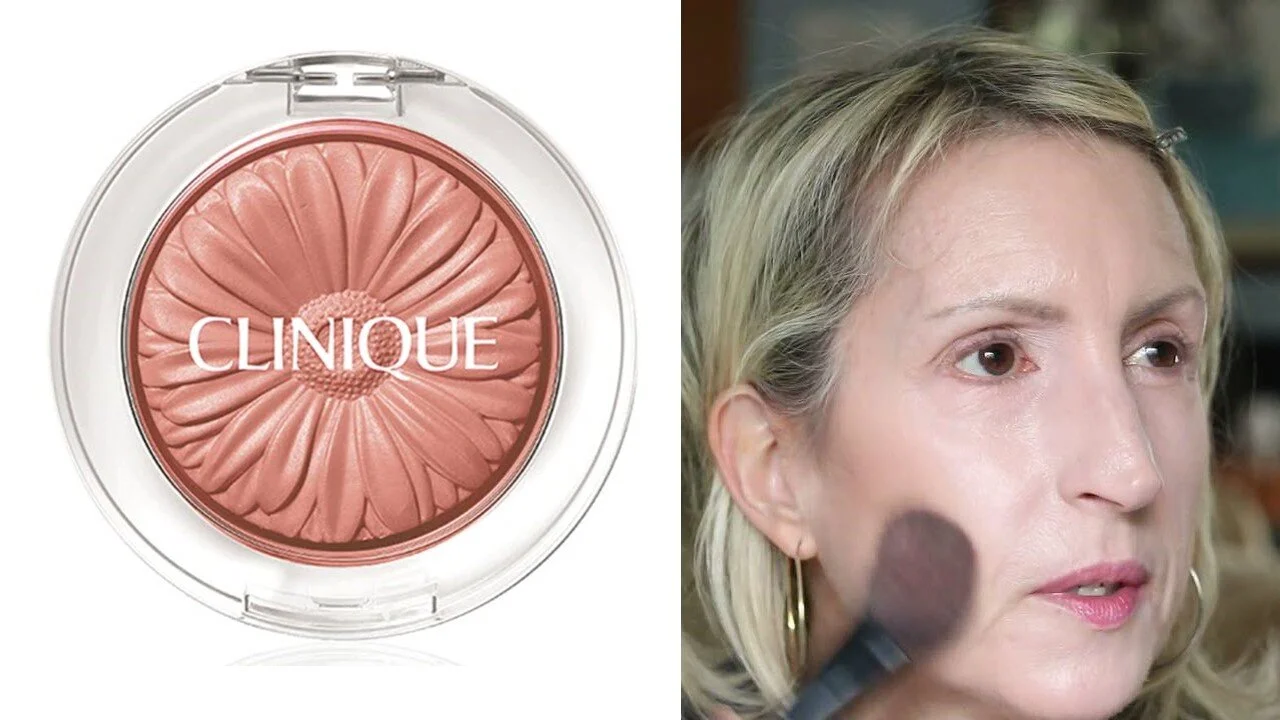
As the last step for my face makeup before I get to the eyes, I’ll apply blush. Today it is the Clinique Cheek Pop in “Nude Pop”.
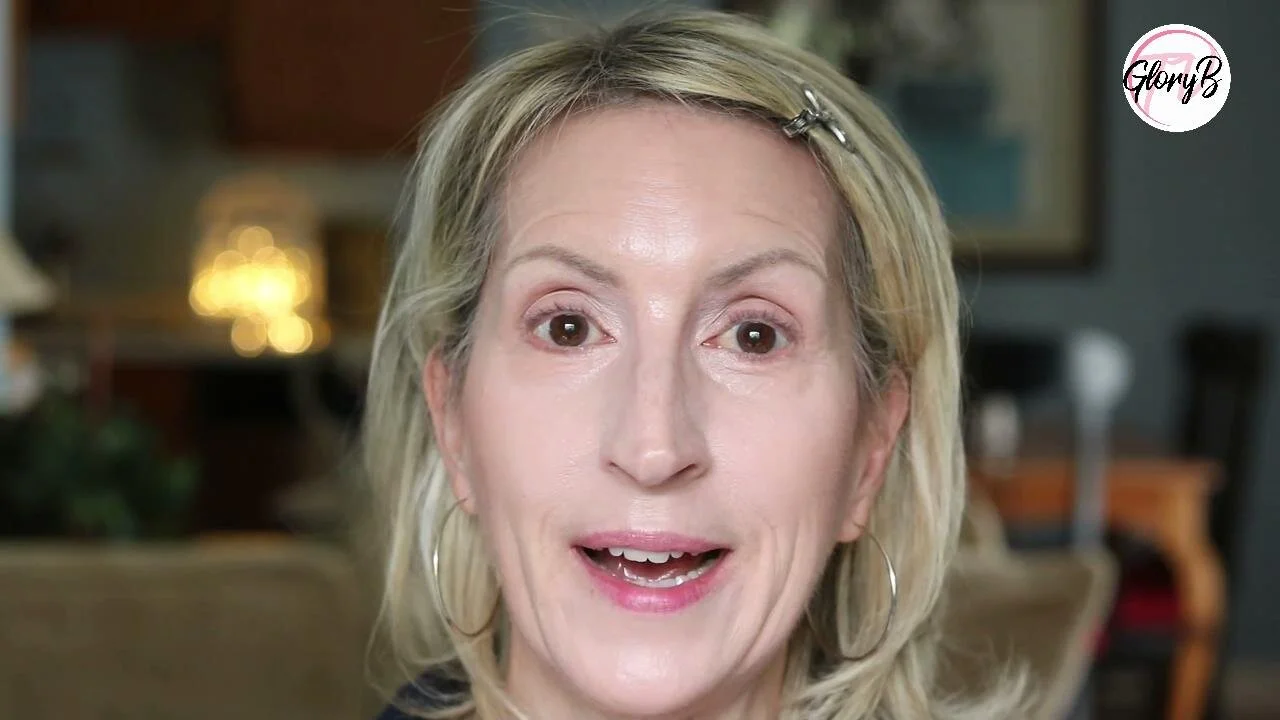
Before I get to my eye makeup (and I know I really need it!), this is how my face looks after all of these makeup tricks. The tear troughs are mostly camouflaged at this point.

Here is the finished look when I’m done. The tear troughs are much more difficult to see and the makeup draws the other person’s eye away from the sunken look. I look more awake and less tired with this method.
Click the image below to see the full video tutorial:
Products:
Pixi Correction Concentrate in "Brightening Peach"
Clinique Even Better Foundation in "Breeze"
Emlin Foundation in Burnished Ivory
E.L.F. Powder Brush ("stipple brush")
Real Techniques Blend & Blur Foundation Brush
Ecotools Custom Coverage Buffing Brush
Rimmel Stay Matte Pressed Powder in "Creamy Natural" #011
Pixi Beauty Bronzer & Kabuki Brush in "Subtly Suntouched"
Clinique Cheek Pop in "Nude Pop"
WHAT ELSE I’M WEARING:
Lancome Le Crayon Khol in Black Coffee
Anastasia Brow Definer in "Taupe"
Too Faced Chocolate Bar Eyeshadow Palette
Clinique Pop Lip Colour + Primer in "Nude Pop"